Zapier
Connect Rotor to 6,000+ apps with Zapier. Covers connecting from Settings → Integrations, every trigger and action, building your first Zap, and fixing common problems.
Written By Sean MacCourtney
Last updated 6 days ago
Zapier connects Rotor to 6,000+ other apps. Send leads in from Google Ads or a landing page, post to Slack when a job is completed, add new customers to a spreadsheet, and more.
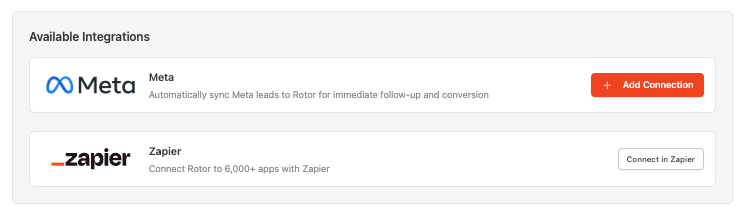
You connect Zapier from Settings → Integrations. No API key or Developers tab needed.
Step 1: Connect Zapier
In Rotor, go to Settings → Integrations.
On the Zapier card, click Connect in Zapier.
Accept the invite in Zapier. Rotor shows as Invite Only on Zapier for now, so this link is how you get access.
When Zapier asks you to connect your Rotor account, sign in to Rotor and approve the connection.
Already using Rotor on Zapier? The old version used an API key. Reconnect through Settings → Integrations to get the new version (Rotor 2.0.0) and all the new triggers and actions.
Triggers
A trigger starts a Zap when something happens in Rotor. Here are a few examples of what is available:
Instant (runs right away):
New Lead: a lead is created in Rotor
New Customer: a customer is created in Rotor
Job Completed: a job is set to Completed
New Inbound Text: a contact texts your Rotor number
Polling (Zapier checks every few minutes):
New Job: a job is created
New Quote: a quote is created
New Request: a request is created
Actions
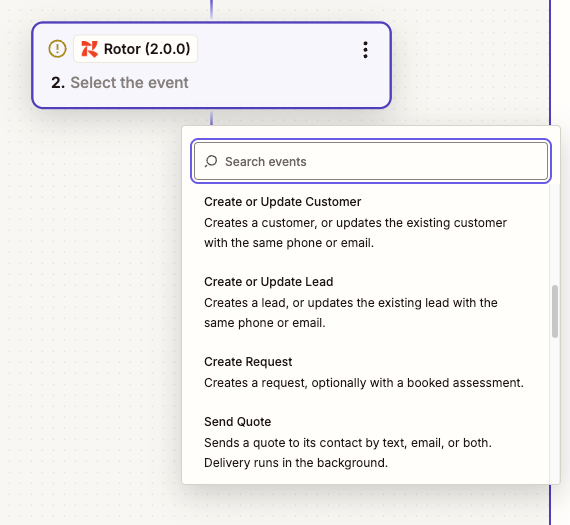
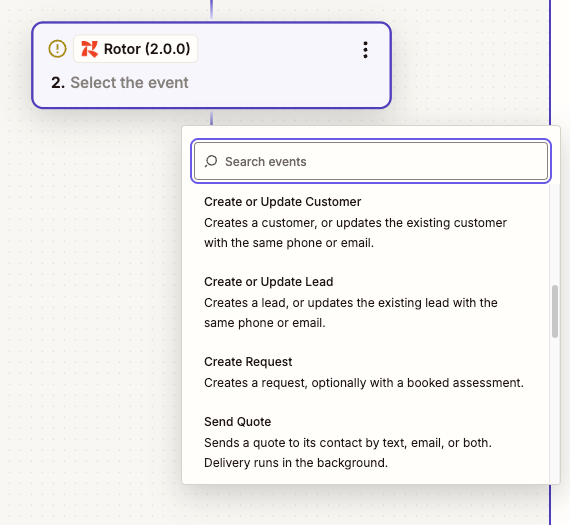
An action is something your Zap does in Rotor. Here are a few examples of what is available:
Leads: Create or Update Lead, Update Lead, Add Tags to Lead, Append Note to Lead
Customers: Create or Update Customer, Update Customer, Add Tags to Customer, Append Note to Customer
Jobs and quotes: Create One-Time Job, Create Draft Quote, Send Quote (by text, email or both)
Requests: Create Request (optionally with a booked assessment), Update Request, Book or Move Assessment
Create or Update matches on phone or email. If a lead or customer with the same phone or email already exists, Rotor updates it instead of making a duplicate.
Searches
Use these in a Zap to look something up before the next step: Find Lead, Find Customer (can create one if none is found), Find Request, Find User, Get User Availability and Get Crew Availability.
Step 2: Build your first Zap
Example: send Google Ads lead form submissions into Rotor as new leads.
In Zapier, create a new Zap. Set the trigger to Google Ads (or your form tool, spreadsheet, etc.).
Pull in a sample record. You'll map fields from it, so don't skip this.
For the action, choose Rotor, then Create or Update Lead.
Pick your connected Rotor account.
Map the fields (tips below).
Test the step. This creates a real lead in Rotor.
Check the lead in Rotor, then turn the Zap on.
Use a lead for anyone who hasn't bought yet. Use a customer for someone with a signed plan or a paid job.
Mapping tips
Split full names. If your form has one "Full Name" field, use a Zapier Formatter step to split first and last name.
Set the lead source. Type it in on the Zap (like "Google Ads") so your reporting in Rotor stays accurate.
Tag it. Add a tag like "zapier-gads" so you can find every record a Zap created. Tags need to exist in Settings → Customization to filter by them.
Send a full address. Rotor maps addresses. A ZIP code alone drops the pin in the wrong place.
Use notes. Send extra form answers to the note so your team sees them before they call.
When it doesn't work
Still stuck? Send support the Zap name and a screenshot of the failed run from your Zap history.
Need a trigger or action that isn't there?
Post it on the Feature Request board with what you're building, so others can vote on it.
Related articles
Have additional questions? Contact us through the chat or email support@getrotor.com.
Was this helpful?
Still need help? Ask the team